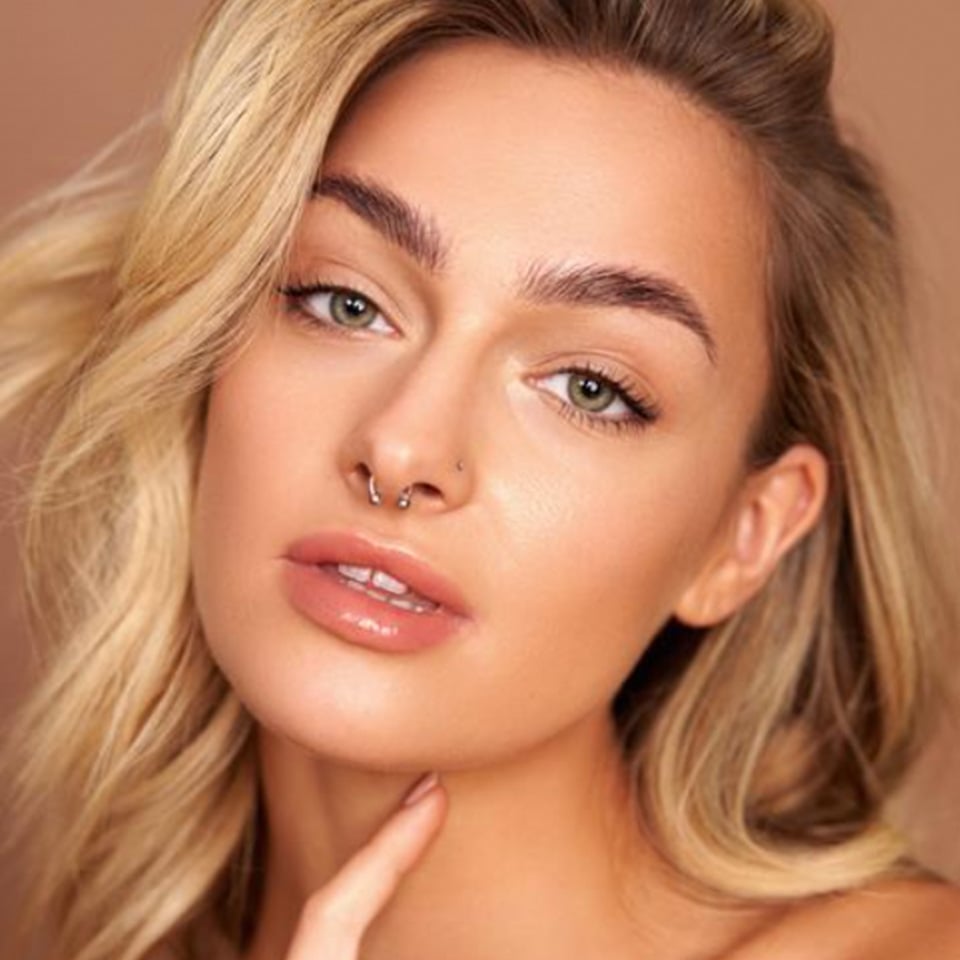
So, you’re here to read up on all things makeup, but from a beginner's perspective? Well, we’ve got you covered! We’ve put together a basic makeup list to get you started, helping you gain confidence in creating your simple yet effective make-up look in 10 easy steps!
Whether you’re looking for everyday beauty inspo or wondering “What are the makeup essentials for beginners?”, we’re here with all you need to know about which products to use & how to apply them (which can get a little barmy at times).
What makeup should a beginner buy?
Not everyone needs everything however we need to cover all the bases. This is my basic makeup list of all the essentials any makeup beginner should need to kickstart their beauty love affair:
- Primer
- Foundation
- Concealer
- Eyebrow Gel
- Shadow Palette
- Mascara
- Eyeliner
- Bronzer
- Blush
- Highlighter
- Setting Spray/Powder
- Lipstick/Lip-Gloss/Lip Liner
How to Apply Makeup for Beginners
Now that you’re set with your shopping list, let’s learn how to do makeup for beginners. Here’s a simple step-by-step makeup tutorial alongside top recommendations for your brand-new kit.
Step 1 – Prime the Skin
A face primer is always applied as your first step in your routine, before applying your foundation to prep the skin for smooth makeup application. Primers can help blur imperfections and gives your foundation a seamless base to adhere to, so you can enjoy your makeup look all day long.
Note that you do not always need a primer, look for ones that target your skin concern whether that’s large pores, dry/combo/oily skin, texture, blemishes etc.
How to Apply Makeup Primer for Beginners
After applying your Moisturizer and SPF dispense a bean-sized amount into your fingertips and massage a light layer of Primer across your whole face. we love our Makeup Revolution Pore Blur Primer as a brilliant all-rounder to smooth the skin and prep it for foundation.
Expert Tip: Focus on your T-zone area and areas that may get oily throughout the day.
Step 2 – Apply Foundation
A foundation is designed to even your skin tone & complexion, to help create a flawless base for the rest of your makeup – a trusty FOUNDATION is essential in any makeup kit. Foundations come in different coverages:
- Light – natural coverage, will still see the skin underneath.
- Medium – most imperfections will be covered
- Full – all imperfections will be covered; skin tone will be all one colour
There are some different finishes of foundation, as a beginner I suggest using your skin type to decide what finish to have:
- Dry skin – hydrating, glowy
- Combo skin – demi-matte/satin
- Oily skin – matte
To help keep things simple my recommendation would be SKIN SILK! A Foundation that you can sheer out to give a light coverage to build it up to have a medium–full coverage. The perfect all-rounder starter foundation with added skin-loving ingredient, what more could you want?
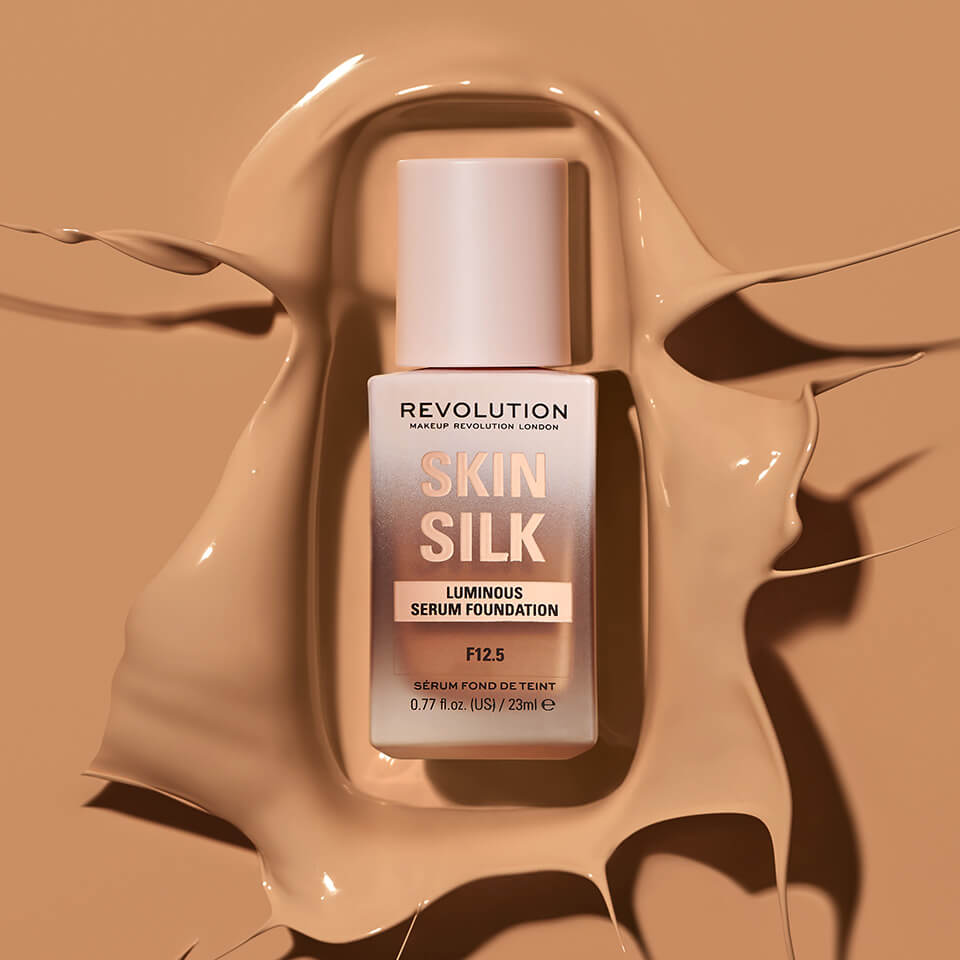
If you’re unsure about colour you can use our SHADE FINDER TOOL.
How to Apply Foundation for Beginners
Everyone has a personal preference on how they like to apply their foundation but here’s some options to try out! Apply using your fingertips to give a softer, more natural finish or a sparse brush to only dispense a small amount of product.
Apply with a denser for fuller the coverage! Or a personal fave by many is the beauty spongs for customizable coverage. Once you’ve distributed the product over your face using your fingertips, dampen the sponge and lightly tap the product in – you can always add more as needed.
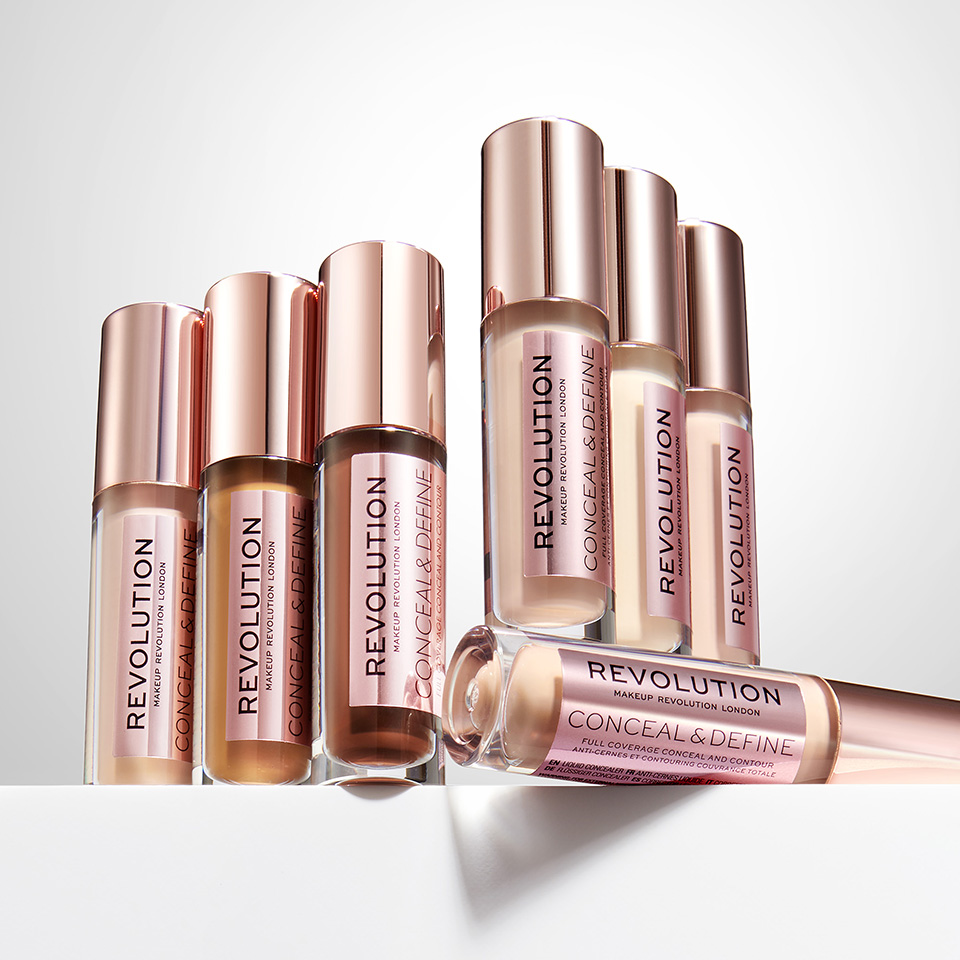
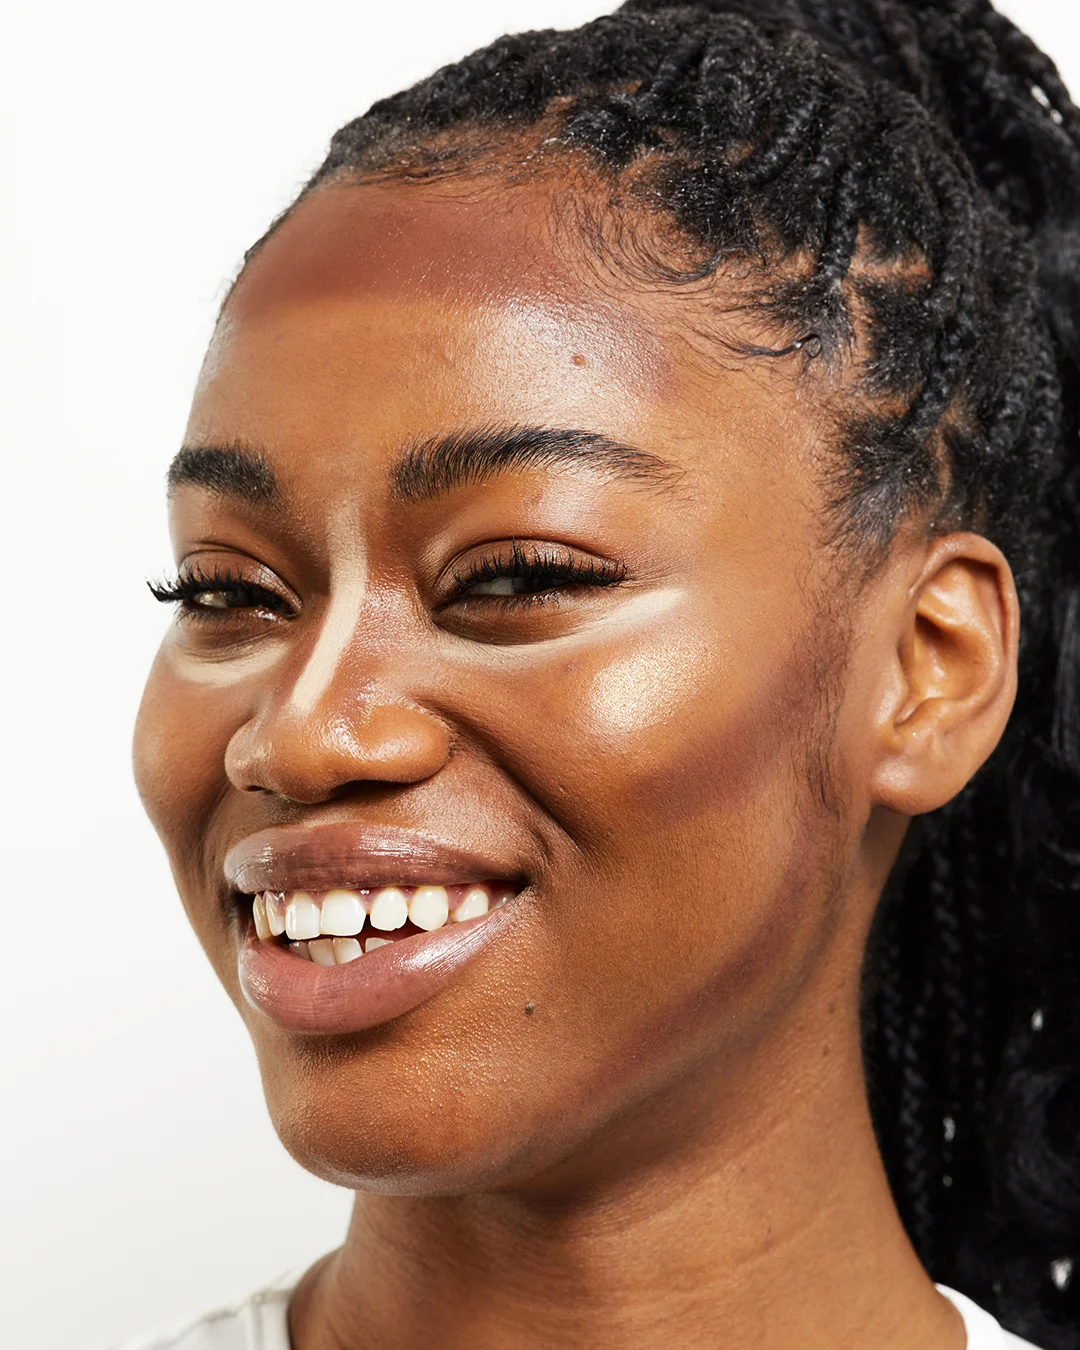
Step 3 – Conceal
Next stop on our makeup for beginners list - concealer! You’ll only need a concealer if you want more coverage in specific areas or to brighten your under-eyes to add more dimension to your complexion!
Concealer will help you to hide dark circles, blemishes, and any other imperfections that the foundation may not fully cover. We love our CONCEAL AND DEFINE CONCEALER, to do just that.
Expert Tip: Opt for your natural shade for concealing blemishes but opt for one 2-3 shades lighter to highlight or darker to contour.
Step 3 – Conceal
Blemishes? If you simply want to camouflage a pimple, we recommend applying a small amount to the top of your hand and use a brush, like our CREATE DETAILED CONCEALER BRUSH, pick up the product and tap it over the blemish. Let the product dry for a few seconds before blending to gain full coverage. It’s best not to apply the product applicator directly to the spot, as this may transfer bacteria into your product and spread it across other areas of your face, so decant a small amount onto a clean hand instead.
Brighten? If you want to achieve a more healthy-looking complexion and conceal dark circles, we’ve got some top tips for you. Apply your lighter concealer in an ‘upside down triangle’ shape under each eye, as well as adding some to the centre of the forehead, down the bridge of the nose, and the middle of the chin to highlight the high points of the face and give you a natural, structured look.
Simply blend out with your fingers or a damp beauty sponge for a seamless finish.
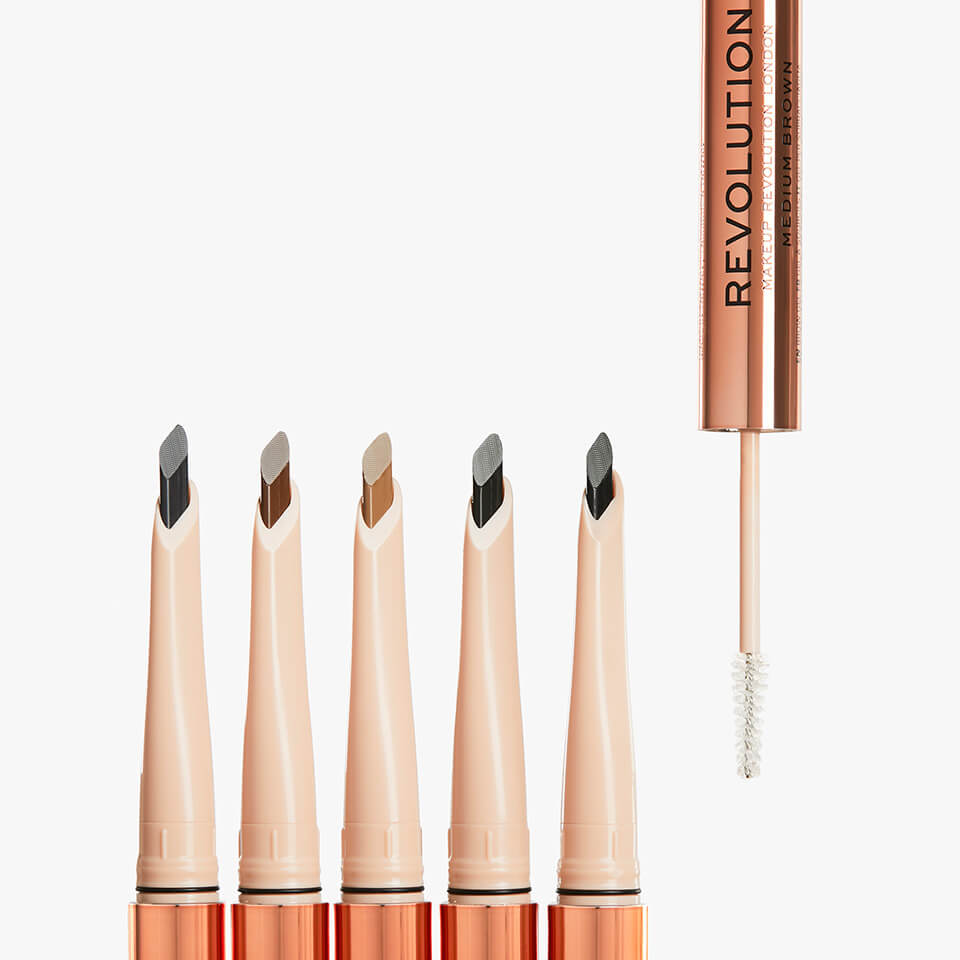
Step 4 – Eyebrow Gel
I believe that the power of a good brow can never be underestimated, it’s the best way to frame your eyes and add depth and fullness to sparse brows, BROW GEL gives structure and balance, so you can fake it ‘till you make it.
How to do Brows for Beginners
If you’re as obsessed with the fluffy, full-brow trend as I am, then it’s your lucky day! This look is super easy to achieve with our FLUFFY BROW DUO which comes with a pencil and a gel on either end so you’re good to go!
If your brows are already perfectly full (jealous) our CLEAR BROW GEL is the perfect thing.
If you have sparse brows, don’t worry! You can always go in with a BROW PENCIL to fill in any small gaps, then set with gel.
Step 5 – Shadow Palette
A shadow palette is a great addition to any makeup bag, adding depth, colour and dimension to the eye. Eyeshadow can be used to enhance your eye shape to make them pop! Add your creative touch, whether that’s subtle and natural to bold and dramatic, use this step to express your style.
How to Apply Eyeshadow for Beginners
Before you rush into any colourful or smoky eye looks, make sure you know how to perfect your blending with neutral shades first.
Start with a lighter shade, sweeping it across your whole eyelid. Follow this with a slightly darker shade halfway into your lash line, blending outwards to add definition to your eyes. Tah dah! A simple yet effective look!
Or try out this trending look below:


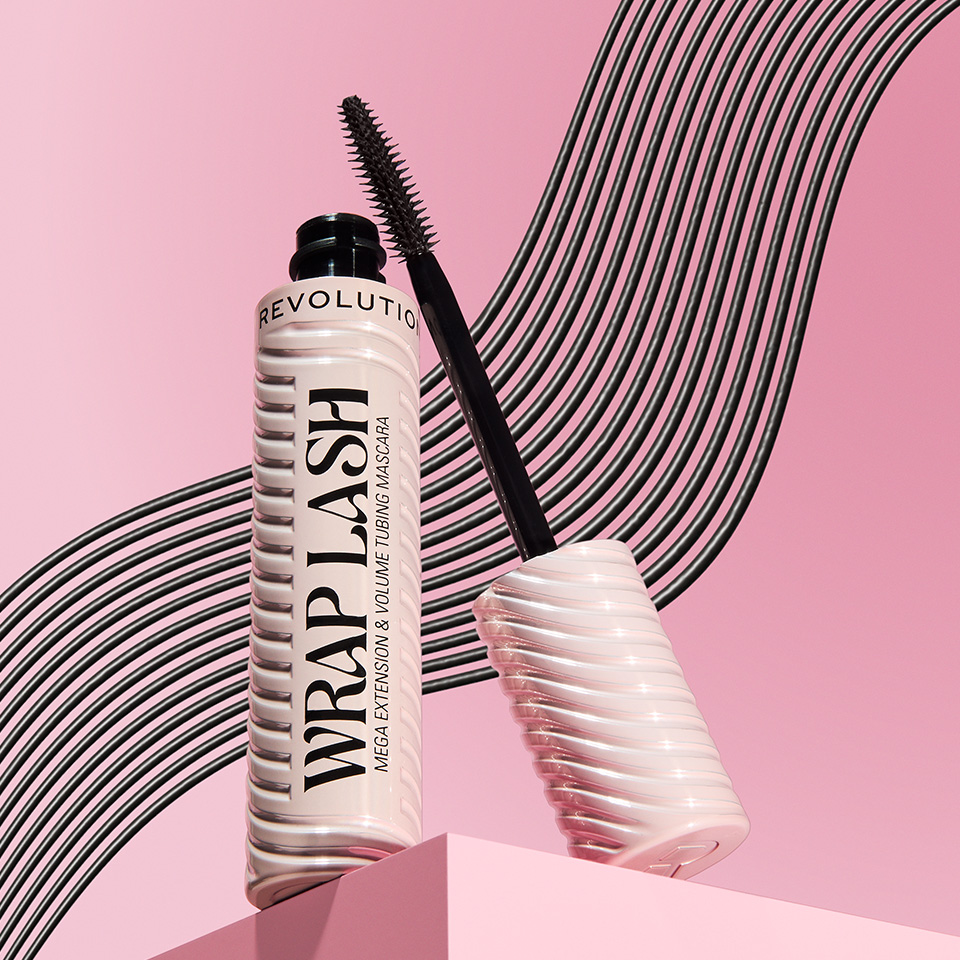
Step 6 – Mascara
MASCARA is a must in any makeup routine for beginners. Completing your eye look, opening the eyes and making them appear larger and more defined. Add length, volume, and curl to your lashes for the perfect finishing touch.
How to Apply Mascara for Beginners
For lust-worthy lashes, apply a few coats of your chosen mascara to your top and bottom lashes. I’m adoring the new WRAP LASH MASCARAthe world's first tubing mascara with mega volume! Life-proof lashes with 24-hour* staying power, Revolutionary tubing technology meets major brush innovation so you can feel that lash confidence all-day, every day.
Want to take your eye makeup a little further? EYELINER can be one of the best ways to take your eyes from day to night. Discover our guide on how to master the art of winged liners.
Discover everything you need to know about how to apply blush and where to put it to complement your face shape!
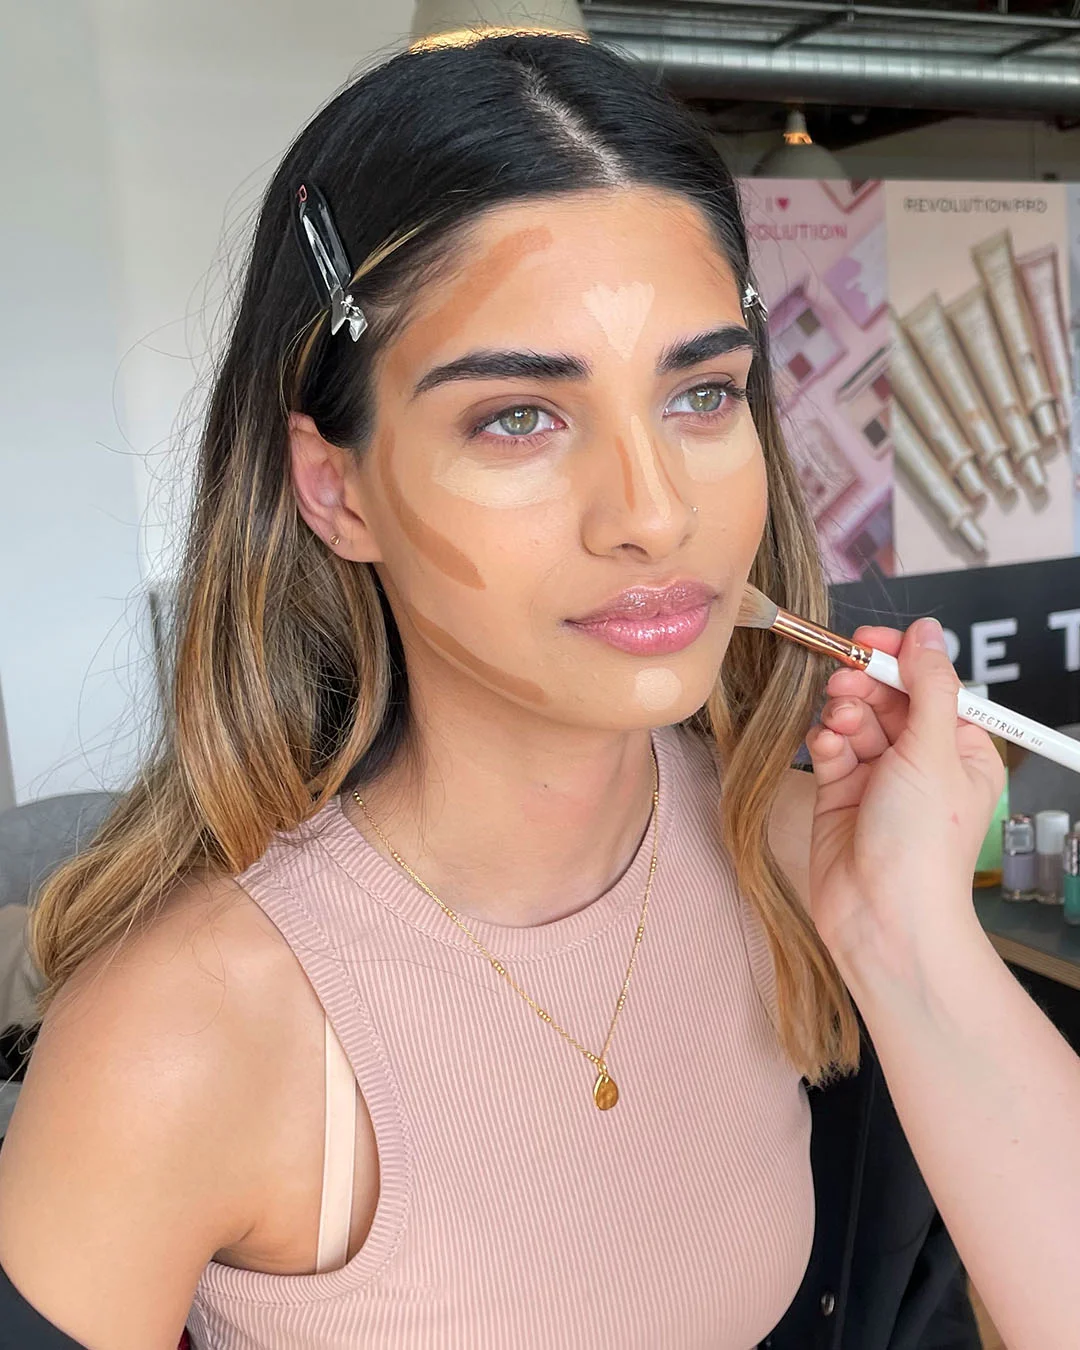
Step 7 – Bronzer, Highlighter
BRONZER and HIGHLIGHTER add definition and structure to your face, an essential for me! Bronzer adds warmth and dimension to your face, creating a healthy, sun-kissed appearance, while highlighter adds a luminous sheen to the high points of your face to enhance your features. Cream or powder? The choice is yours!
How to bronze/highlight for Beginners
Using a medium-sized fluffy brush, lightly sweep your bronzer in the shape of the number 3. From your forehead round to your cheekbones and then lightly under your chin. This 3 shape adds definition which keeps the look natural. For highlighter pop this on the high points of your face, where the sun hits it. For example: your cheekbones or the bridge of your nose.
Step 8 – Blush
Blush is becoming a fave of mine now, adding colour back into your cheeks. My go-to is the SuperDewy Blush BURST, if you’re new to blush this is a great choice, you can customize how pigmented you want the colour!
How to apply blush for beginners
You place blush on your cheekbones for a lifted look or on the apples of your cheeks for a more youthful look. Liquid blushes can be applied with fingers, a brush or a sponge and a powder blush would be applied with a brush.
Step 9 – Setting spray/powder
You’ve come this far so it's time to give your make-up the extra staying power it deserves! Always use a powder before setting your makeup in place with a spray to prevent any creases and keep oils at bay. Then use a setting spray to bring your base back to life & lock it in all day!
How to use a setting spray
Hold the bottle 20 cm away from your face and give yourself a couple of spritzes! And it will help your make-up last all-day. My favourite is the SuperFix Setting Spray.
How to use powder
Pop the powder where your skin will naturally crease or gain oil throughout the day, using a large fully brush or a powder puff to apply under your eyes & around your t-zone.
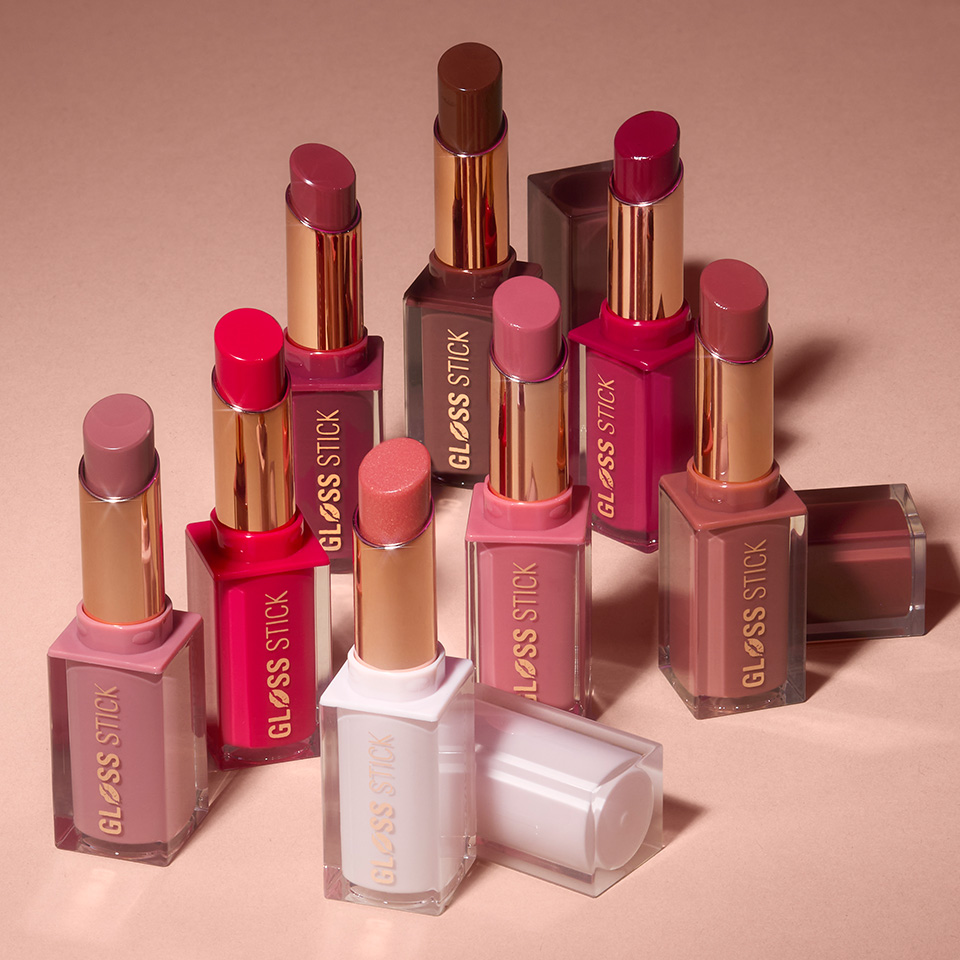
Step 10 – Lip Liner, Gloss and Lipstick
Finish your look off with a bit of lippie, defining that all-important pout!
Lip products come in various finishes, such as matte or glossy, to suit your personal style some also include lip-loving ingredients moisturize and protecting your lips from dryness throughout the day.
How to Apply Lip Liner for Beginners
A lip liner will give your lip added dimension & definition to make your pout pop! Our SATIN KISS LIP LINERS come in various shades to suit all skin-tones, with a beautifully buttery consistency for quick and effortless application.
Choosing a lip liner shade that matches your lipstick and begin by outlining the natural shape of your lips, starting with the cupid’s bow and following the contours of your mouth. Use short, light strokes to prevent a harsh or unnatural look.
Expert Tip: If you want to give the illusion of fuller lips, choose a slightly darker shade than your lipstick and trace slightly above your natural line.
How to Apply Lipstick for Beginners
A lipstick and lip gloss will add some extra pigment and shine to your pout, giving you that extra boost of confidence you need in your day.
Apply the product from the centre of your upper lip, following the natural curve of your cupid’s bow. Then, move outward toward the corners of your mouth, being careful to stay within your lip line. Repeat this on your lower lip.
Press your lips together gently to distribute the colour evenly and use a tissue to blot any excess product.
Expert Tip: For a more precise application, you can use a lip brush to fill in any gaps or define the edges of your lips.
So, now you know what the makeup essentials for beginners are, you can start building out your own beauty essentials list to create some show-stopping looks. That’s not to say that you need every piece I have written down. Although there is a theory that there are no rules in makeup! Now that you’ve read what each product does and how to use it, have a look in the mirror and see what you would like to try.
Play around and see what you like! Luckily our makeup products will offer you amazing high quality at a brilliant price point for you to build your make up bag without doubt.
If you try out any of our tips & tricks be sure to share with us on our socials @makeuprevolution, we’d love to see!
Love, Ellie & Team Rev x